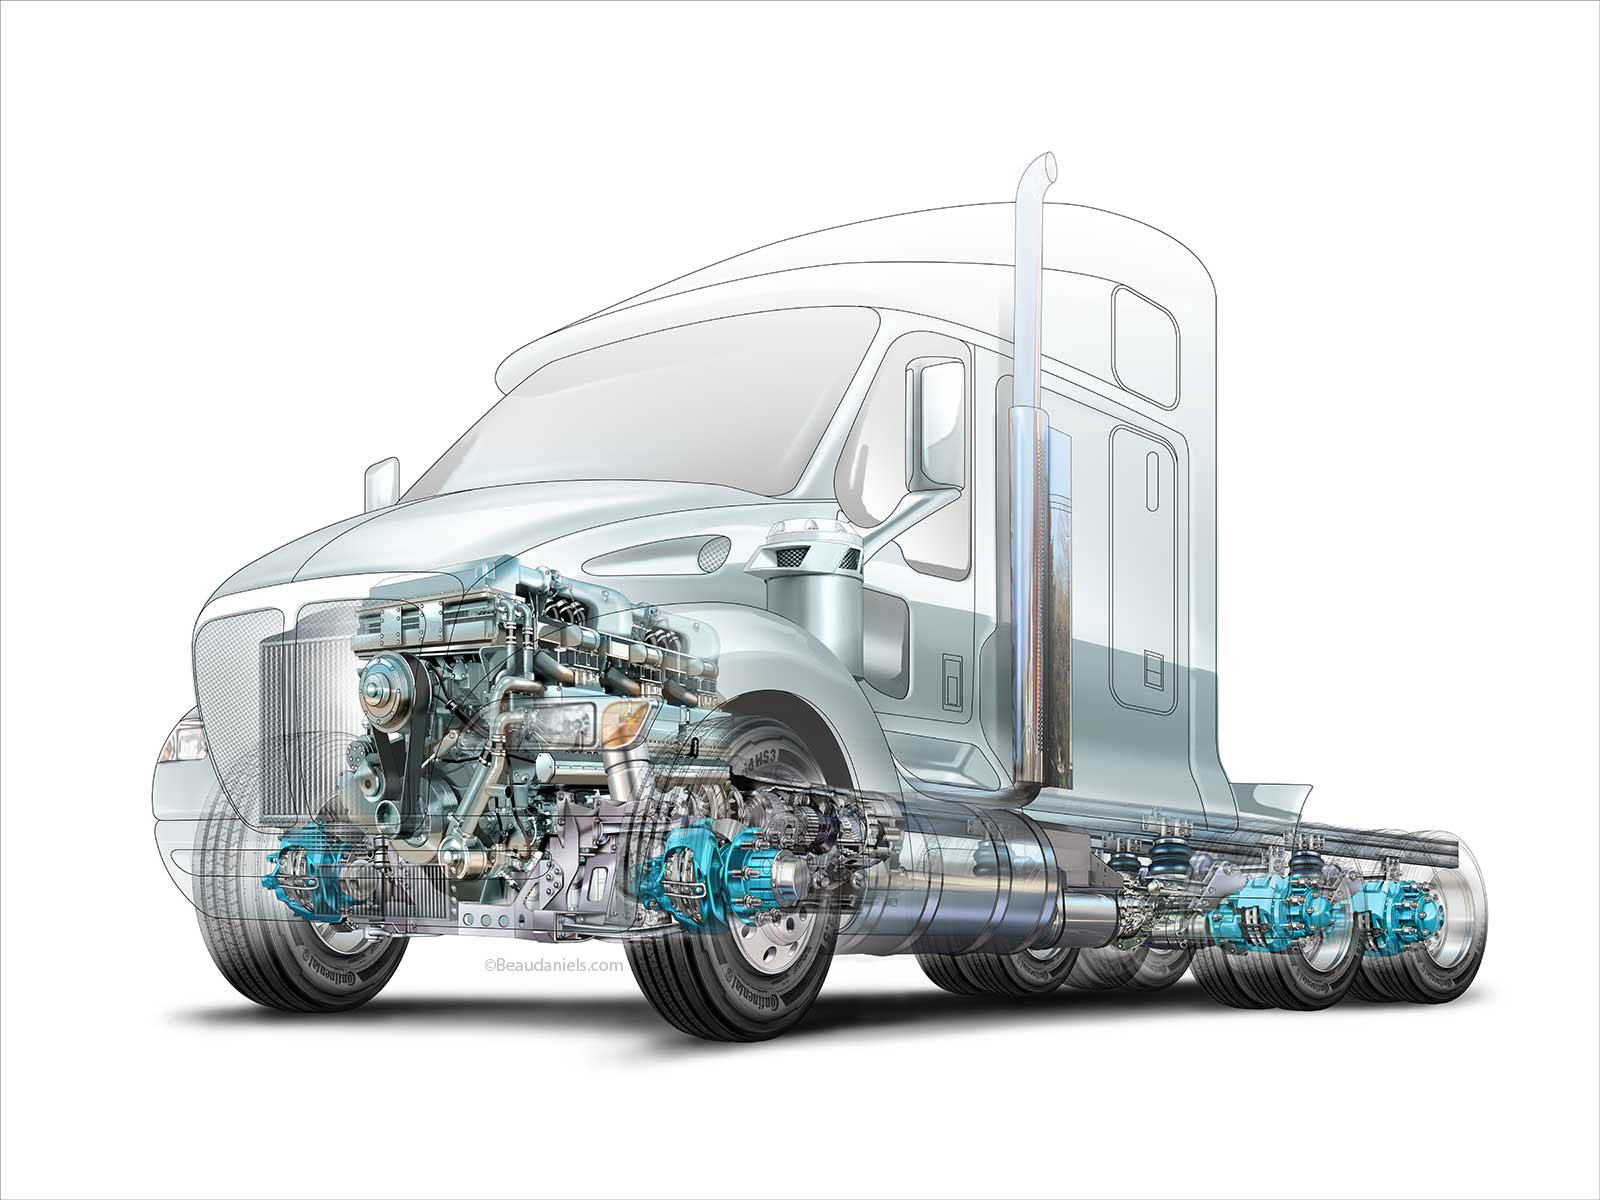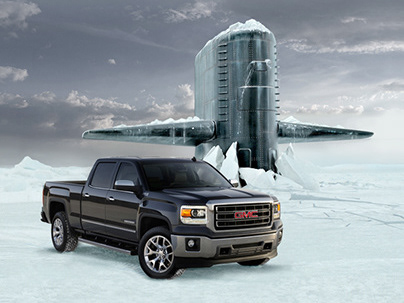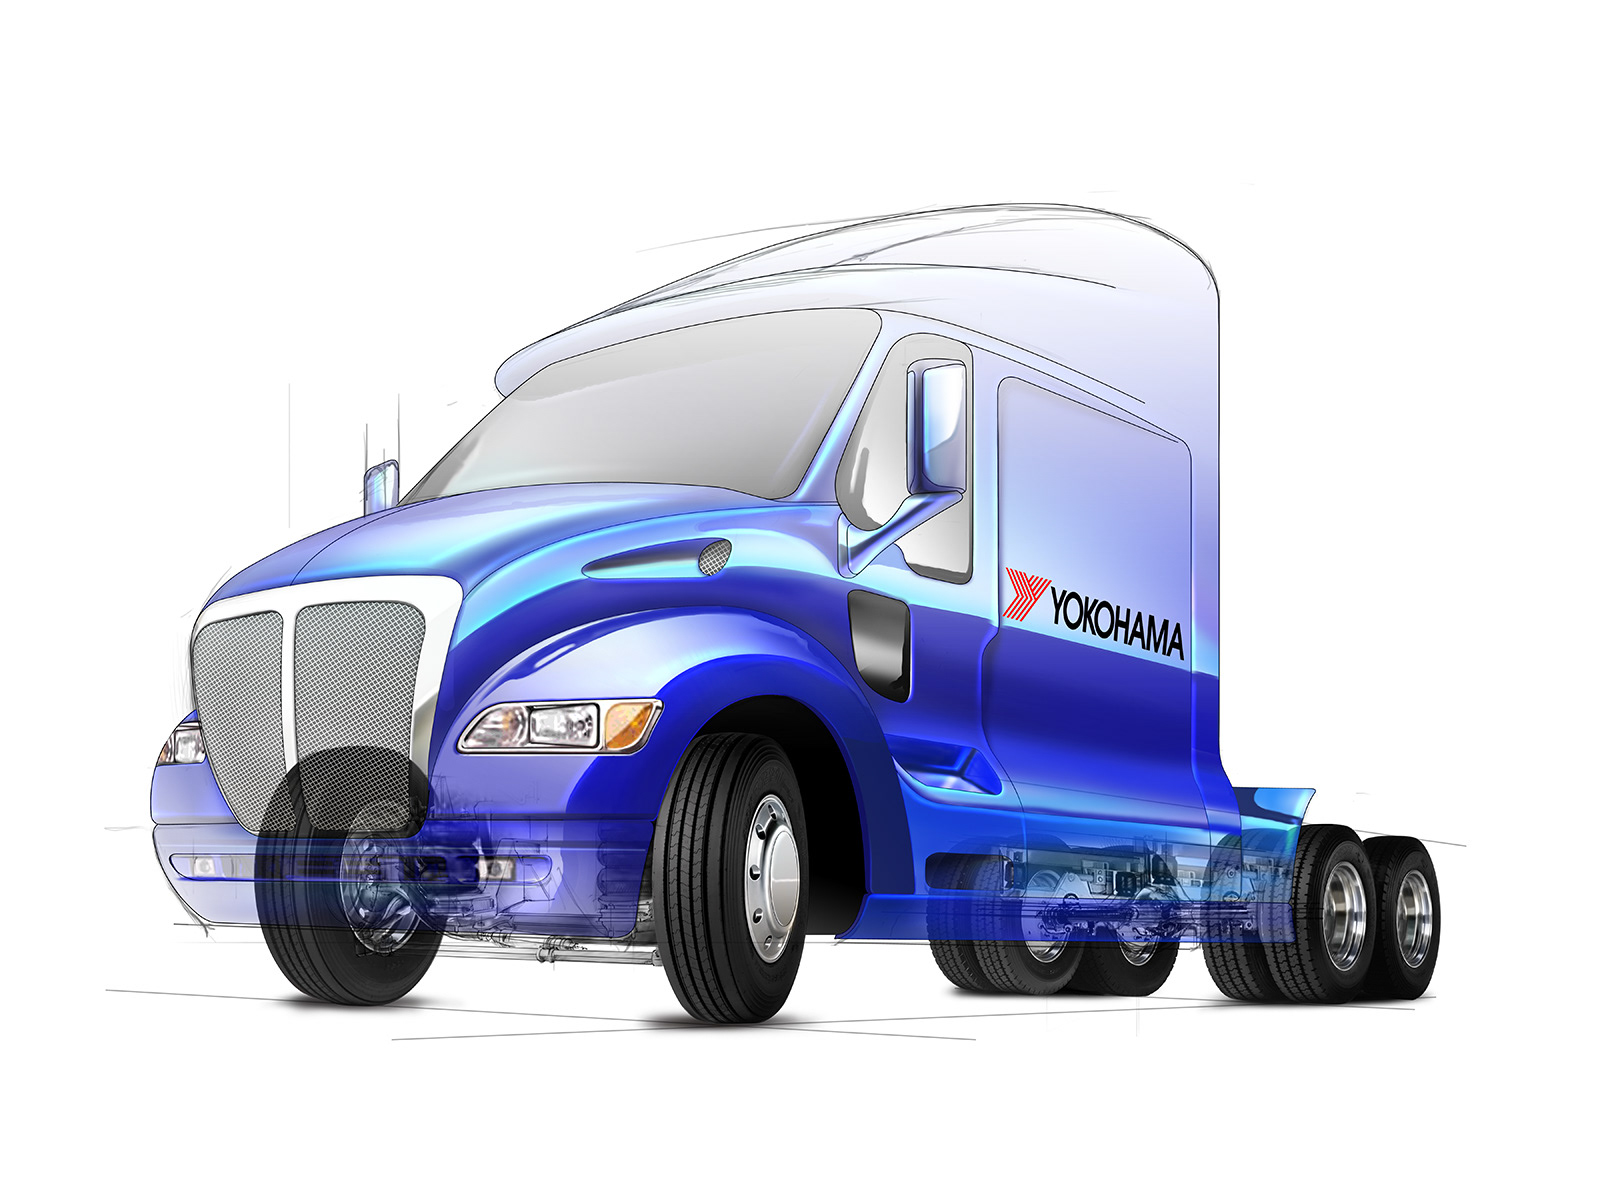
Yokohama TruckGhosted technical illustration.
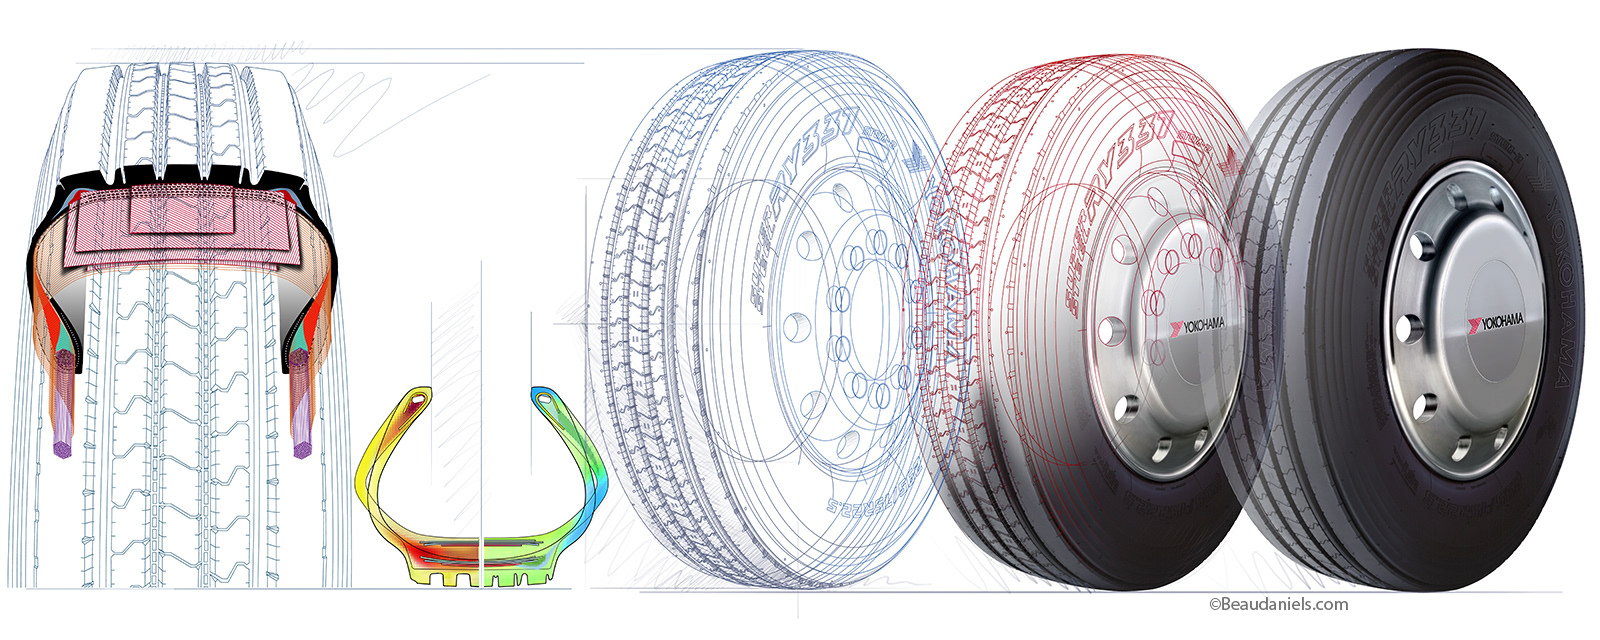
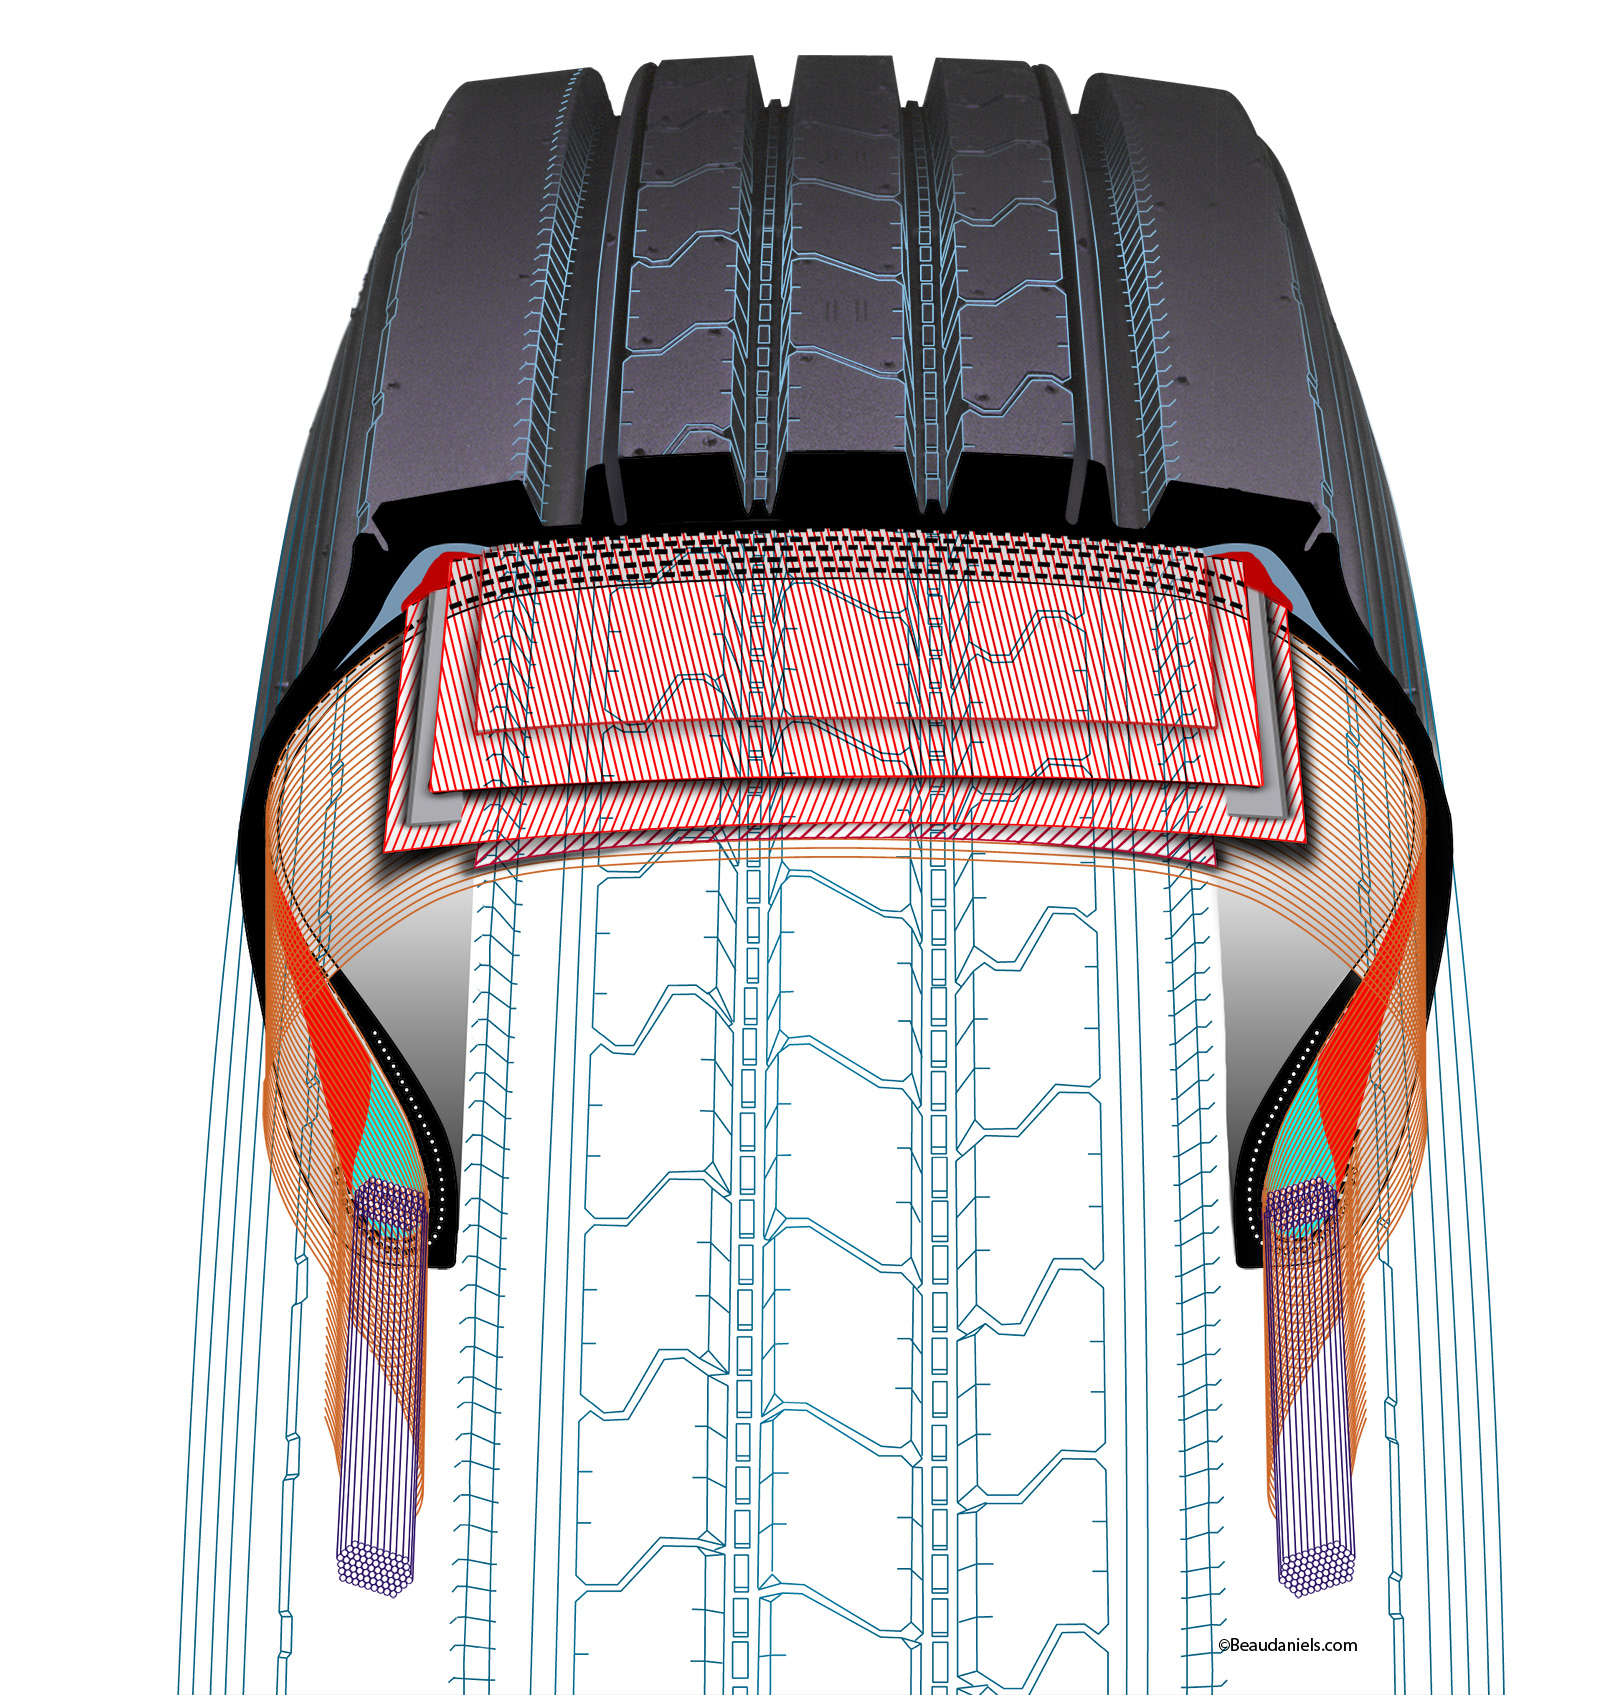
Combined illustration from wire frame to realistic rendering of the tires.
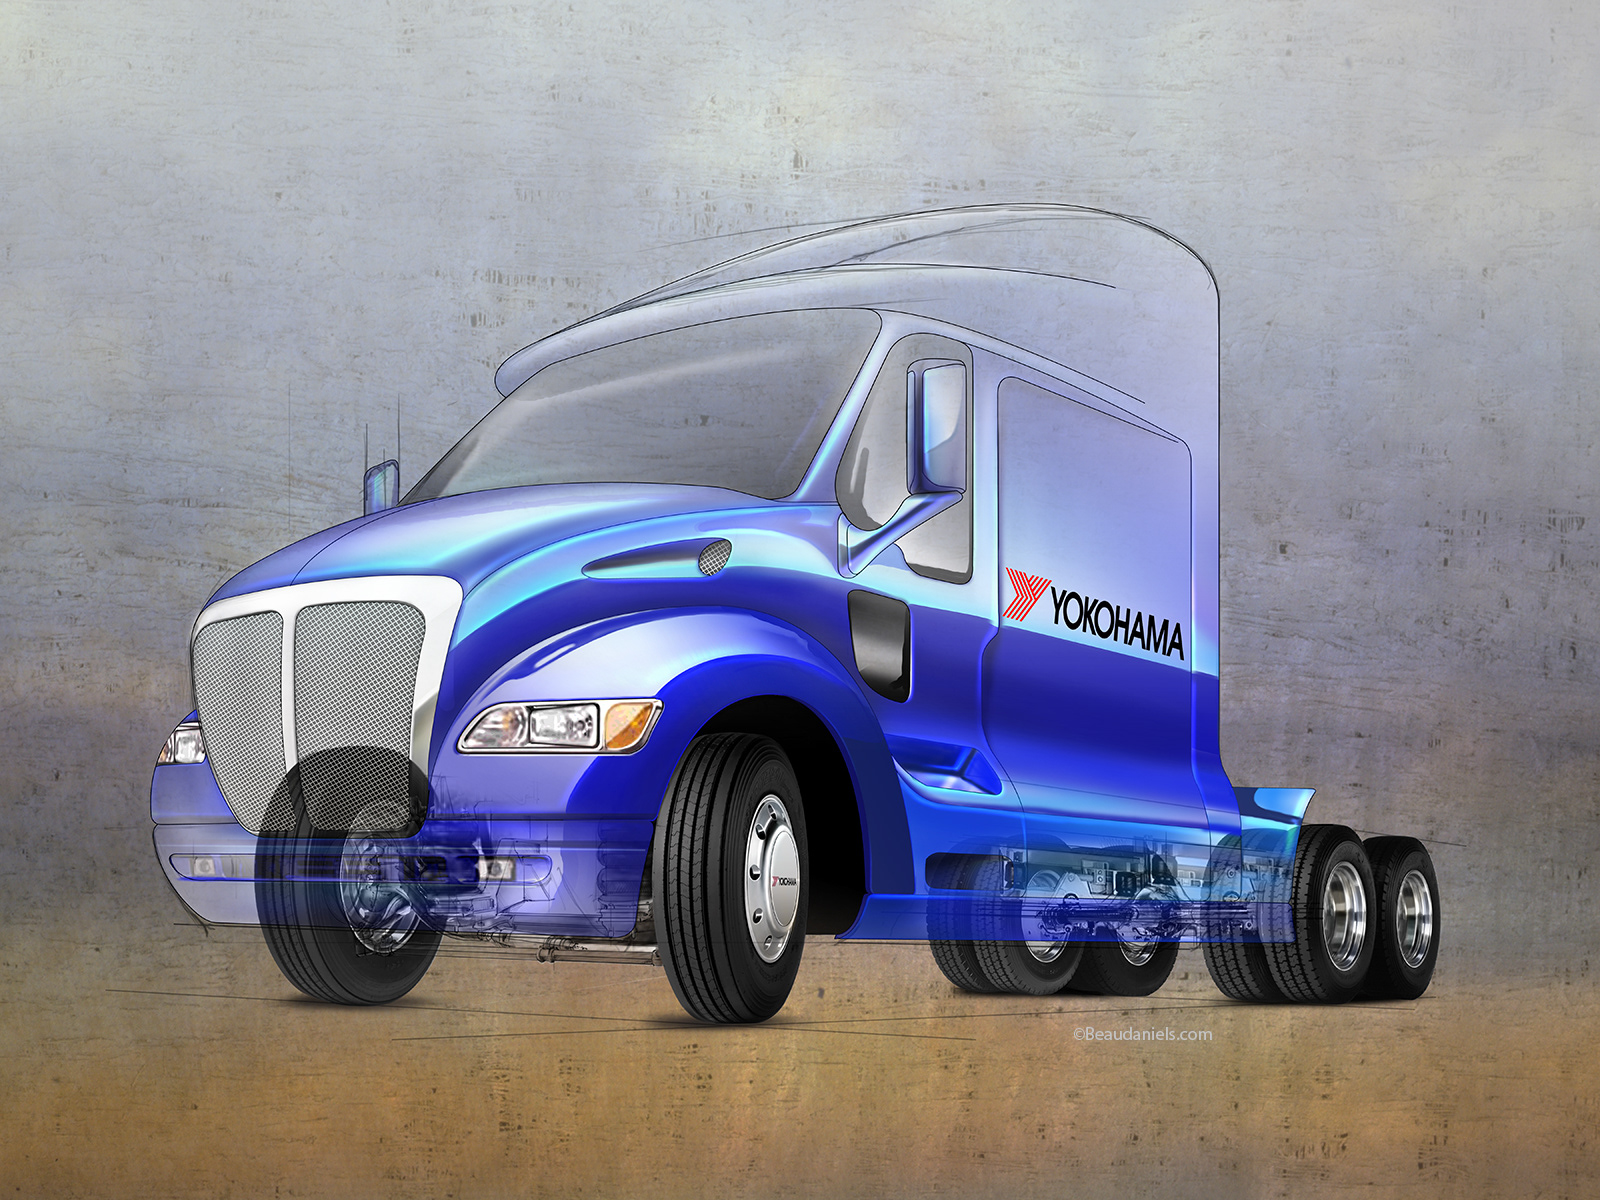
Alternate backgroung for the Yokohama truck.
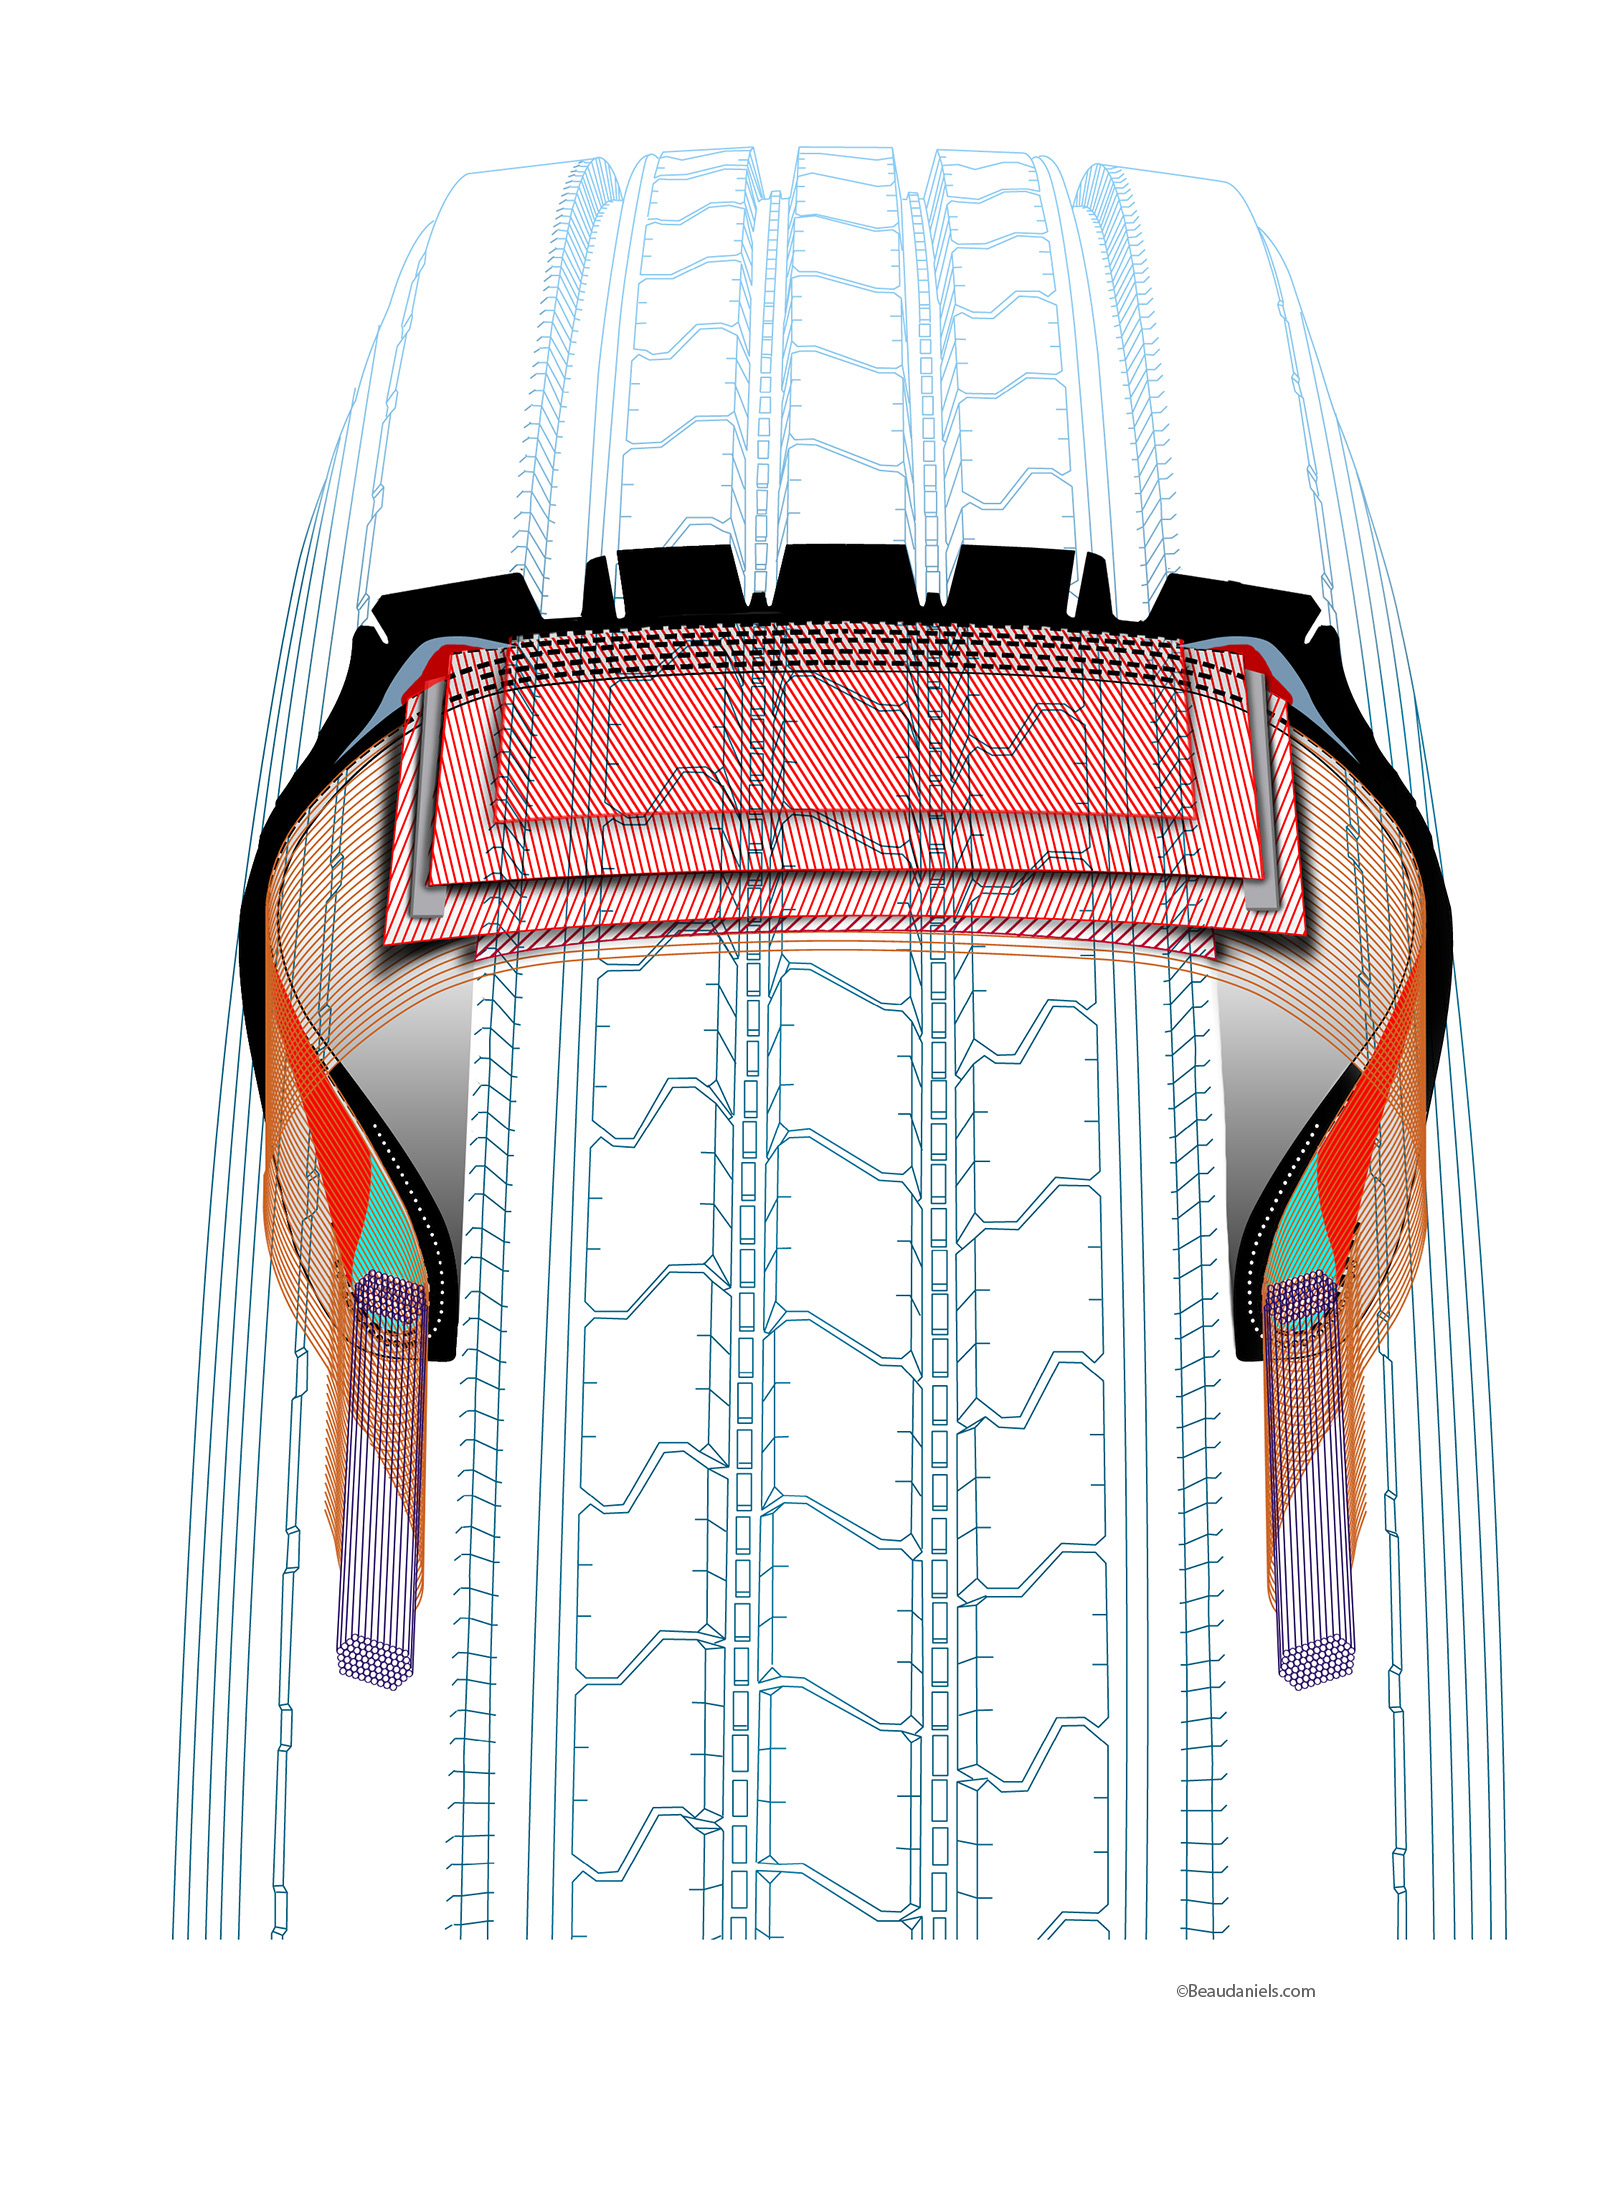
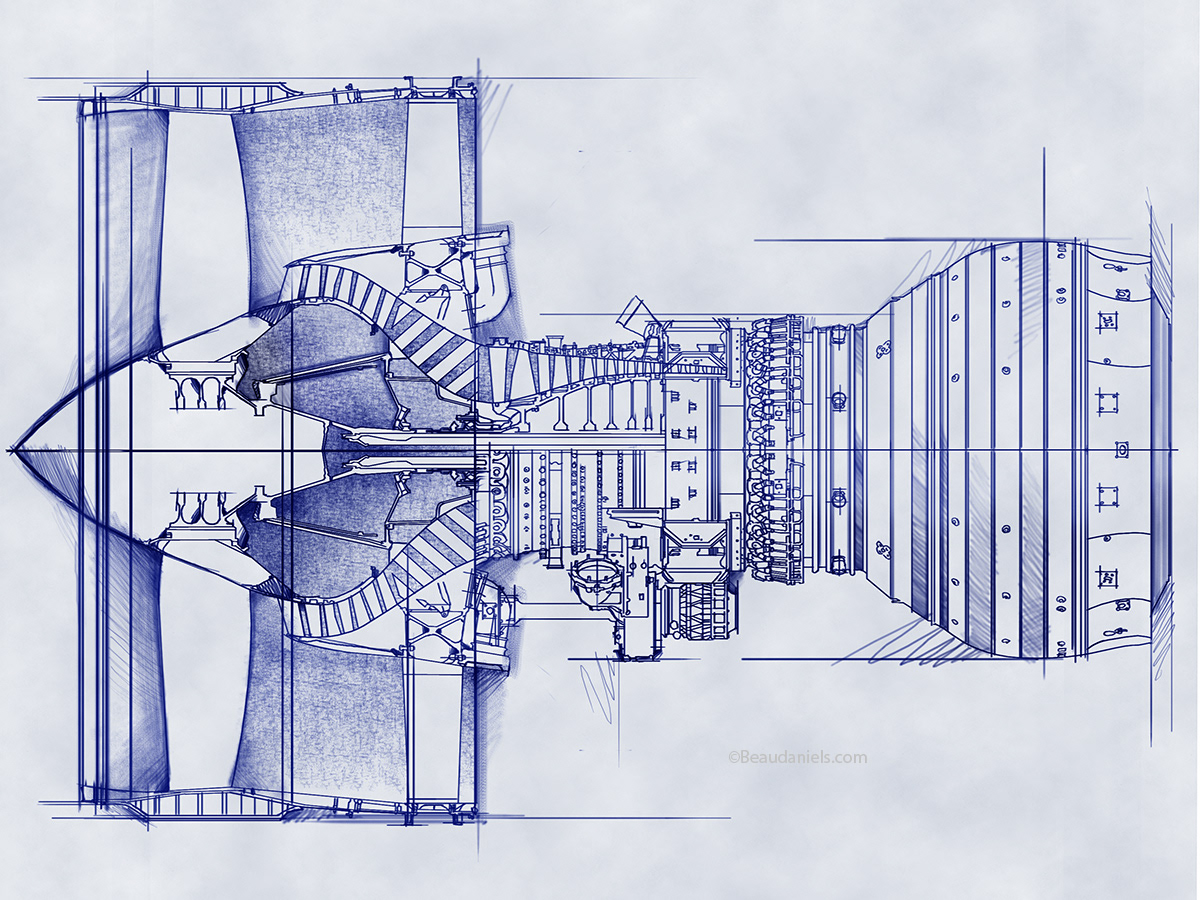
Wire frame style technical illustration for Yokohama tires.
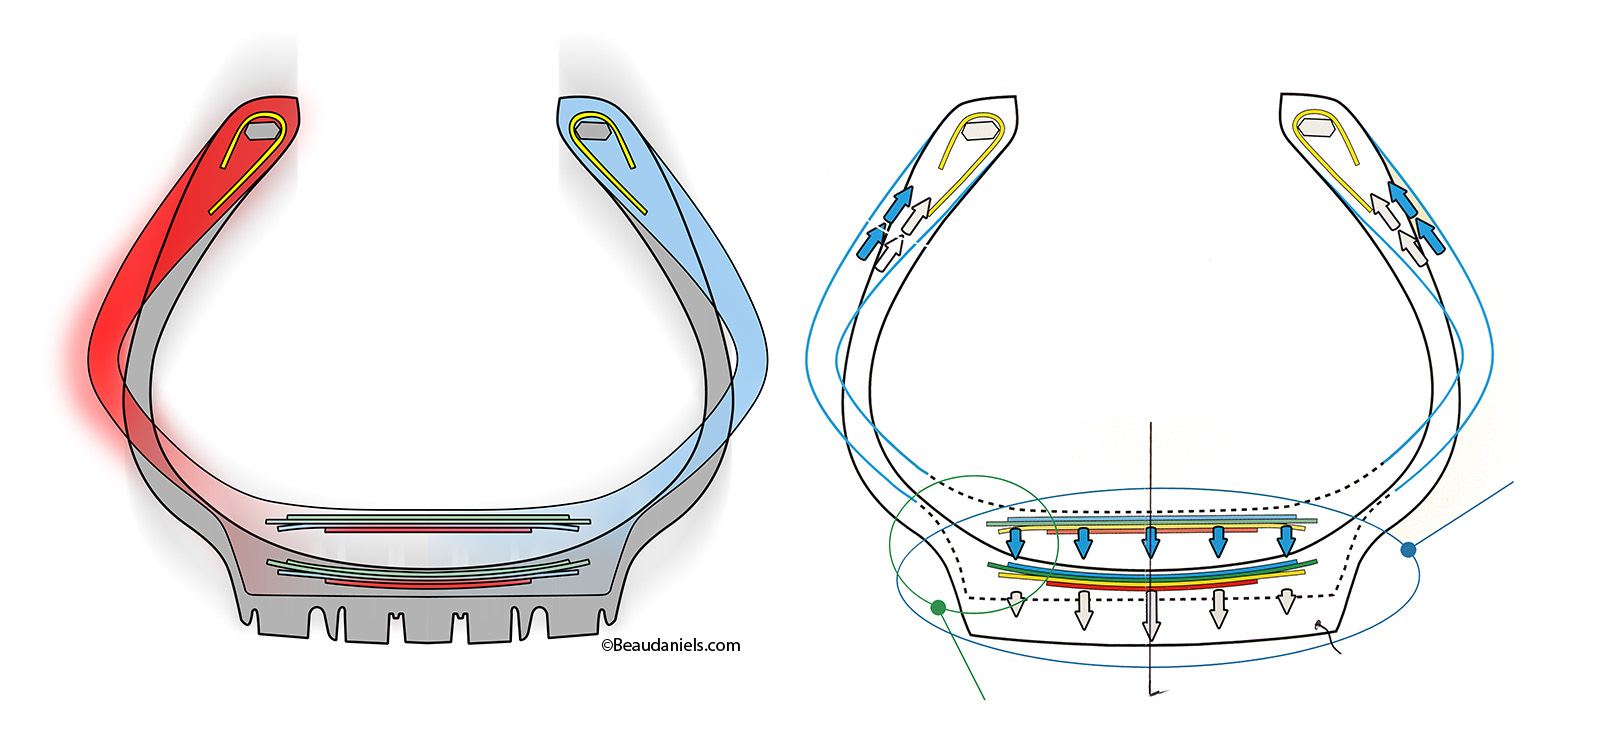
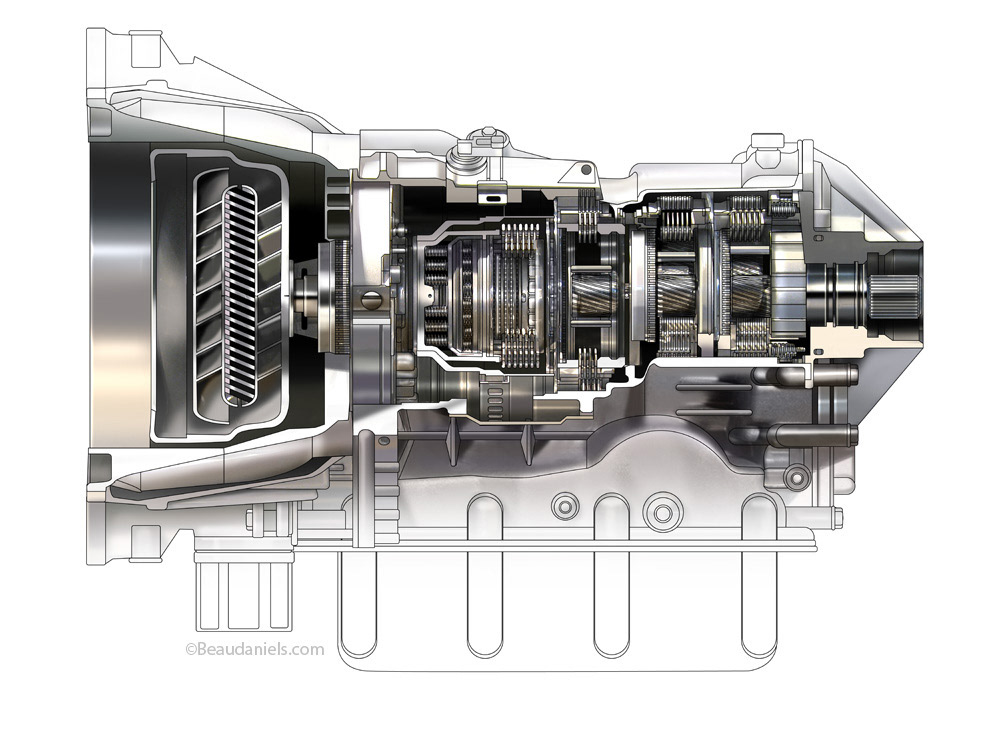
Tires cross section, technical illustrations.
Another version of the wire frame tire.